
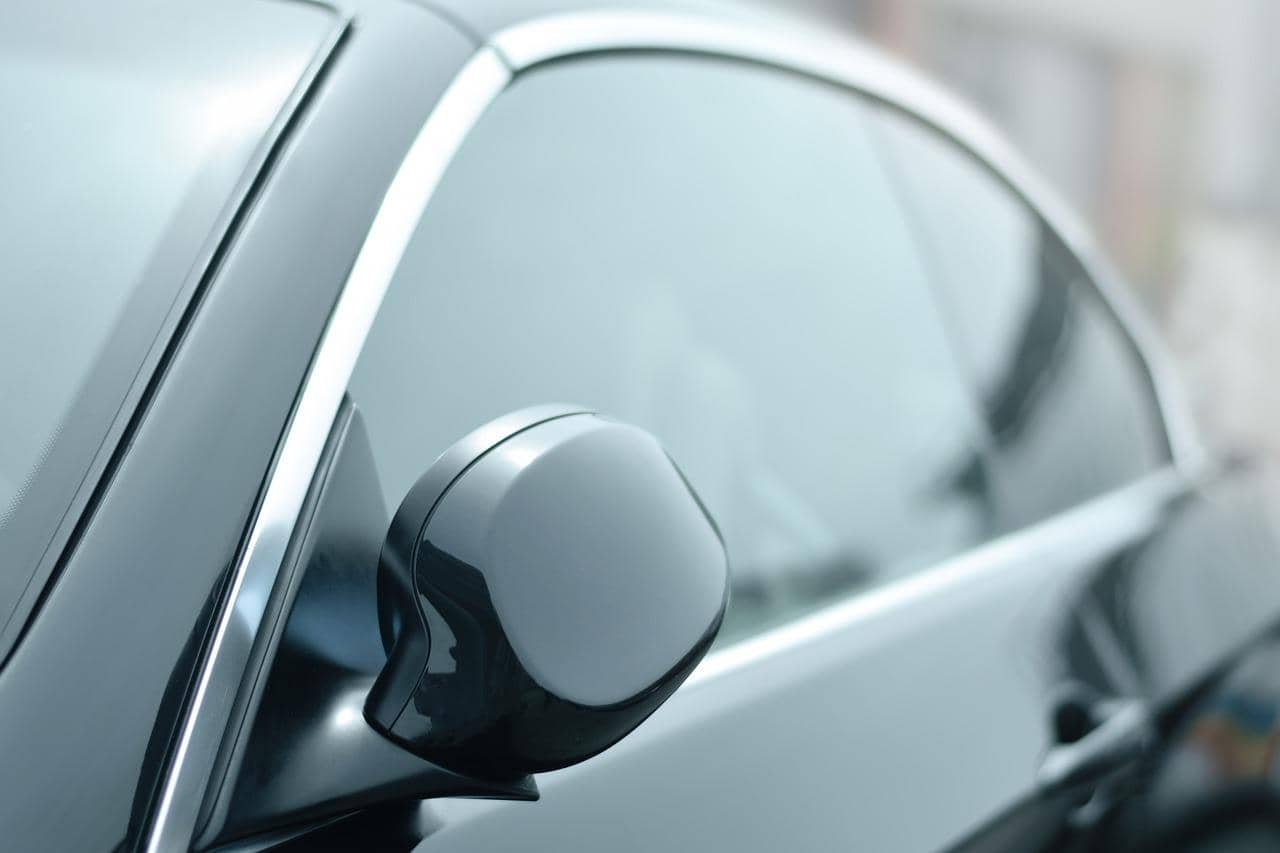
Window tinting helps keep your car cooler, safeguards the interior surfaces, and provides a layer of privacy. When you tint the windows of your car, you not only improve the aesthetics of the interior but also cut down on heat buildup.
As much as 99 percent of UV rays are blocked, and 90 percent of the sun’s infrared radiation is also filtered (IR). Your air conditioner will run more efficiently as a result of this, protecting your interior surfaces from the harmful effects of sunshine.
With the help of the best window tinting Wheat Ridge professionals, you can easily get your car’s windows installed with high-quality and durable tint.
Car Window Tinting: What Exactly is It?
Window tinting darkens the view out of your car’s windows by covering them with a plastic film. This reduces the quantity of visible light (VL) going through the glass, known as Visible Light Transference (VLT). The VLT is used to rank tints.
More VL is allowed in when the VLT percentage/number is larger. Before selecting a VLT percentage, be aware of your state’s regulations.
Here are a few helpful tips to guide you when window tinting your car.
Primary Considerations
- Decide why you want window tint. Whether it’s for privacy, UV protection, or style, knowing your motives will help you choose the right product.
- Do your research. Not all window tints are created equal—some are better suited for different purposes than others.
- Consider the climate. If you live in a hot climate, you’ll want a tint that won’t fade in the sun.
- Choose the right film thickness. Thicker films tend to be more durable but can also be more difficult to install.
- Go for quality over quantity. It’s better to have a high-quality tint job that lasts than a cheap one that needs to be replaced soon.
- Have realistic expectations.
Choose the Right Type of Auto Window Tinting
When it comes to auto window tinting, there are two main types of film: dyed and metalized. Dyed film is made by adding color pigments to the adhesive side of the film, while the metalized film contains a thin layer of metal. Both types of film can offer great UV protection, but they have different benefits.
Metalized films provide better heat rejection than dyed films, so if you live in an area with very hot summers, then this type of film may be best for you. Dyed films are also more affordable than metalized films and provide better clarity in hotter climates.
However, if you live in an area with extreme cold weather or high humidity, then a metallic-based tint may be better because it provides more protection from corrosion.
Plus, these films come in a wider variety of colors which makes them perfect for cars that need privacy at night (for example). It’s important to take these factors into consideration when deciding which kind of film will work best for your needs.
Dyed window film is the most common and oldest type of window tint. The film gets its color from a dye that is added during the manufacturing process.
The advantage of dyed film is that it’s very inexpensive and can last up to five years with proper care. The downside is that it can fade over time, especially in direct sunlight, and doesn’t do a great job of blocking heat or UV rays.
Optically clear vinyl has been around since the 1990s. It gives an unobstructed view through the glass while still providing protection from the sun’s harmful UV rays and heat. Vinyl tints are also more scratch resistant than dyes.
The biggest disadvantage of optically clear vinyl is that they have to be applied by hand, one sheet at a time, which makes them more expensive than dyed films; plus, they’re not as easy to find because most shops don’t carry them yet.
Have the Right Tools
Ensure you have all necessary materials before commencing the installation.
Consider obtaining a low-cost installation kit that contains a few of the following:
- The window film
- A spray bottle with soapy water for cleaning
- A razor blade scraper
- Precision knife
- Tint squeegee
- Microfiber towels
- Vacuum cleaner
- Heat gun
Prepare the Windows
Glass cleaners containing ammonia should never be used. They can change the tint’s hue. The inside of your car must be vacuumed to eliminate dust and debris. With a bucket of soapy water, scrub the interior and exterior of the windows to a brilliant shine.
Lower the window in order to wipe the top of the glass, and then raise it back to the closed position. Wet the window once again. Remove any leftover filth, grime, or sticker residue using a razor scraper.
Clean thoroughly the window trim, seals, and gaskets, as well as any crevices that may harbor dirt or grime.
Use a squeegee and dry microfiber towels to dry the glass thoroughly. Wrap a towel around the squeegee to dry the window seals and window trim.
Measure the Tinted Film
Identifying which side of the film is adhesive-coated is critical. Do not peel off the sticky backing. In this step, you don’t put the tint on; instead, you use the outside of the glass as a guide. Beginning at the front passenger window, soak the outside of the glass with water and soap.
You can then proceed to unwrap the tint. With the sticky side facing you, thoroughly cover the outside of the window, providing enough overhang. Remove this section from the roll. Press the tint gently against the glass to maintain its position momentarily.
Cut the film to a reasonable size, virtually a square, with a two- to three-inch overlap on the glass. Moisten the film and use the tint squeegee to smooth it out. Maintain the film’s position using the squeegee or hand.
Cut along the bottom (front to rear) of the glass with the precision knife. You can use the window to guide you along. Make sure that the film is overhanging the rear of your window by about half an inch.
Apply the Tint

Trim the film’s front straight edge. Center the film, leaving a 1/4-inch overhang at the front and rear of the glass. Take a little amount of the film and pull it down to the base of the glass. Moisten the bottom of the film and carefully separate it from the base of the glass/body.
Moisten the glass and use the tint squeegee to smooth out the film. Use the glass as a guide to trim the film’s upper edge.
Leaving the one-inch overhang at the bottom of the glass, remove any excess film from the front and back of the glass with care. Smooth out any creases or edges.
To prevent the film from ripping, continue spraying it while you remove air bubbles. A heat gun may eliminate air bubbles and excess water and correctly stretch the film to suit curved windows.
Do not approach too near or hold the heat gun on a single region for too long. Use a lint-free microfiber towel to dry the film once it has been processed.
Repeat these instructions for every window. Refrain from lowering the windows for seven to ten days for the adhesive to cure completely.
Conclusion
If you follow these tips, you will be on your way to successful auto window tinting. Just remember to take your time, be patient, and have fun with it.
If you run into a problem, you can always consult your local specialist, so if you live in Denver, for example, you will look out for a window tinting Wheat Ridge professional for assistance.
A good window tinting company has all the expertise to give you the best window tint as per your needs.
Related posts:
 Tips and considerations to take before choosing your Auto-Insurance
 Top Tips for Buying a Classic Car
 Top 9 Beginner Safety Tips for Driving Your First Road Trip
 Hyundai Tucson Review
 7 Tips to Choosing the Right Auto Repair Software
 2021 Toyota Corolla Review – Is it worth it?
 7 Tips To Save The Most Money On Car Rentals
 Tips for driving on the right side of the road
 Best Tips for Driving the Roads of the USA